

Post by greenthumb on Apr 6, 2014 9:39:09 GMT -5
Hi All,
Since I recently hosted an O.P. sarracenia seed giveaway, I would like to share my techniques in growing sarracenia from seed.
Supplies:
2 plastic trays (undrained)
1 Medium square pot
~3 handfulls of sphagnum moss ( LFS, cheaper variety, not New Zealand)
Your typical sarracenia mix
Chopped sphagnum moss (optional)
Tags (of course)
Seeds!
1) get all (or most) of your supplies together:

2) In one corner of the trays (2 stacked up on each other just in case one leaks) jam some LFS and then stick the pot next to it, then surround the pot with more LFS as shown here:
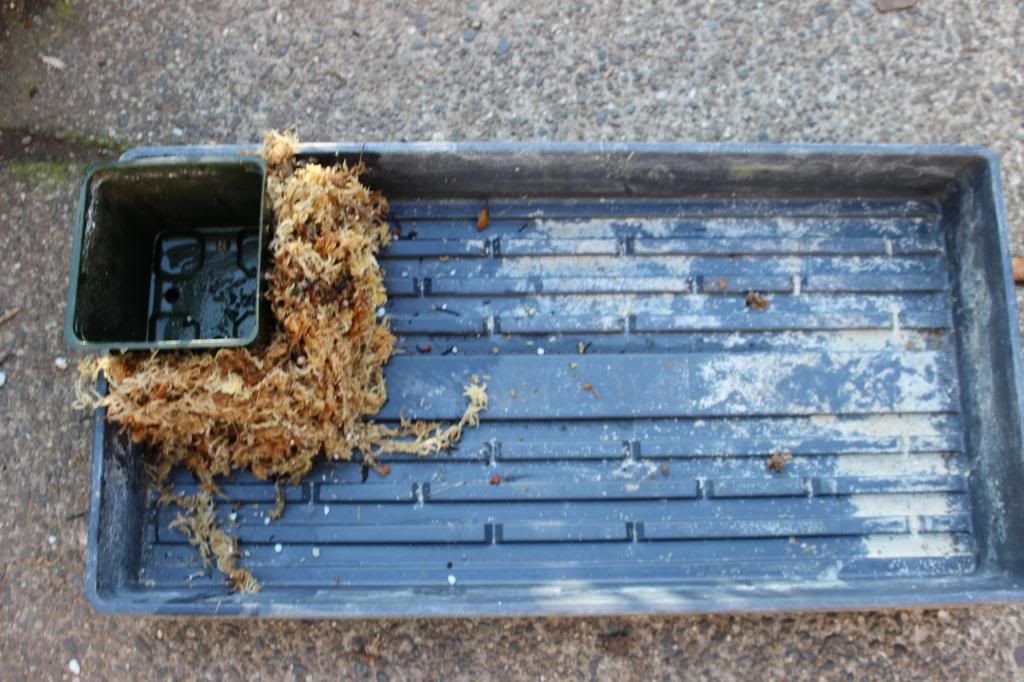
The purpose of this is to make watering much easier: just put the Can/hose in the pot and it gradually seeps to the rest of the tray.
It also makes sure that the seedling don't get squashed by water falling on top of them.
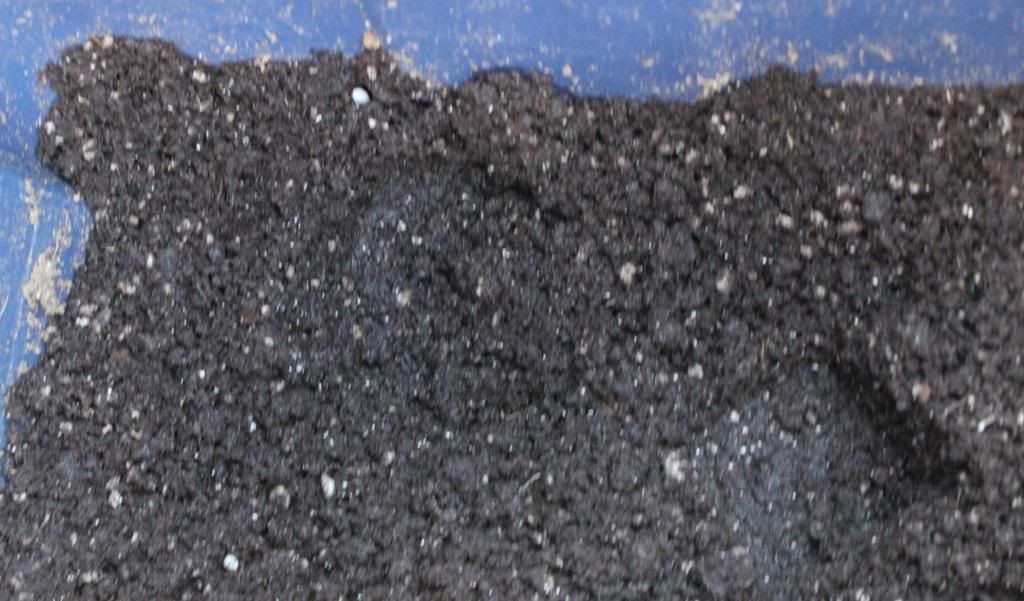
3) pack the rest of the tray very tightly with your usual sarracenia mix. note: You can put some chopped LFS on the top centimeter of the soil. I'm not sure if this helps or not, its your call. I do usually do that if I'm sowing darlingtonia seeds though.
4) ta-da!
 (imagine there aren't any seeds in the tray yet)
5) Sow Your seeds! The thickness of that you sow them depends on when next are you planning to re-pot them. since I usually repot them when they are about two years old, I can sow them more thickly. If you are not planning to repot them for a while, you should sow a smaller amount of seeds.
6)Write a tag with the date that you sowed it
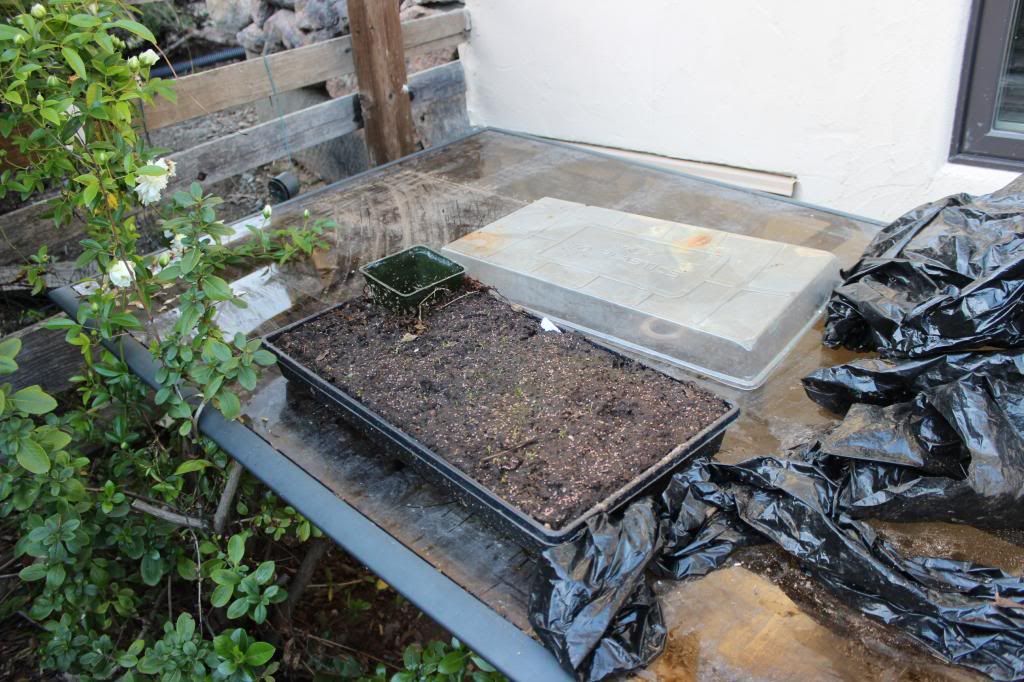
7)Now you have to stratify the seeds. if your weather is in the 40F range for about two months, like in California, you can leave them outside to stratify. A cold garage would probably work too. You can also use a fridge (not freezer) to stratify them. I usually stratify them for about 2-3 months. (The trays should have water this whole time)
8) Once the seeds are done stratifying, you can move them into a greenhouse, under lights, a sunny windowsill or, once it gets warmer outside, outside. See more on this subject in the seed germination thread.
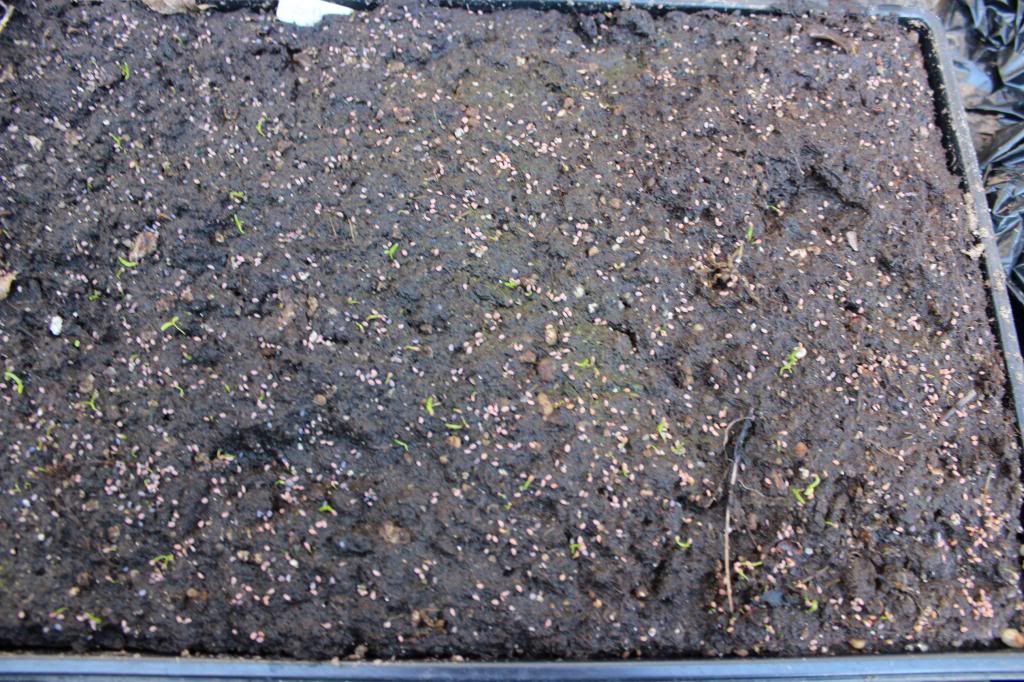
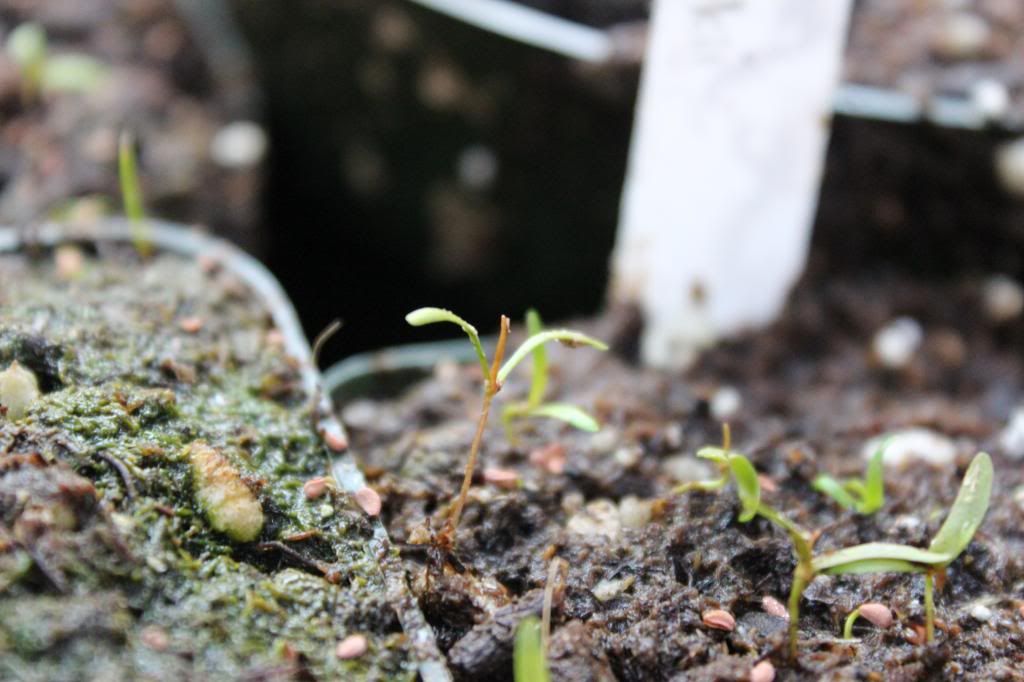
9)The seedlings should star sprouting in about 2-3 weeks.

10) the first two leaves that come up from the seeds are called cotyledons and every plant has them. Soon enough, you should start seeing the 'True leaves' (juvenile pitchers) coming up. Once about two of these come up from every plant, you can start fertilizing with 16-16-16 MAXSEA fertilizer with 3/4tbsp/1gallon once every month.
11)After ~2 years, you can repot them into individual pots or into deep square bog pots (meizzwang has pictures of his seedlings in them.)
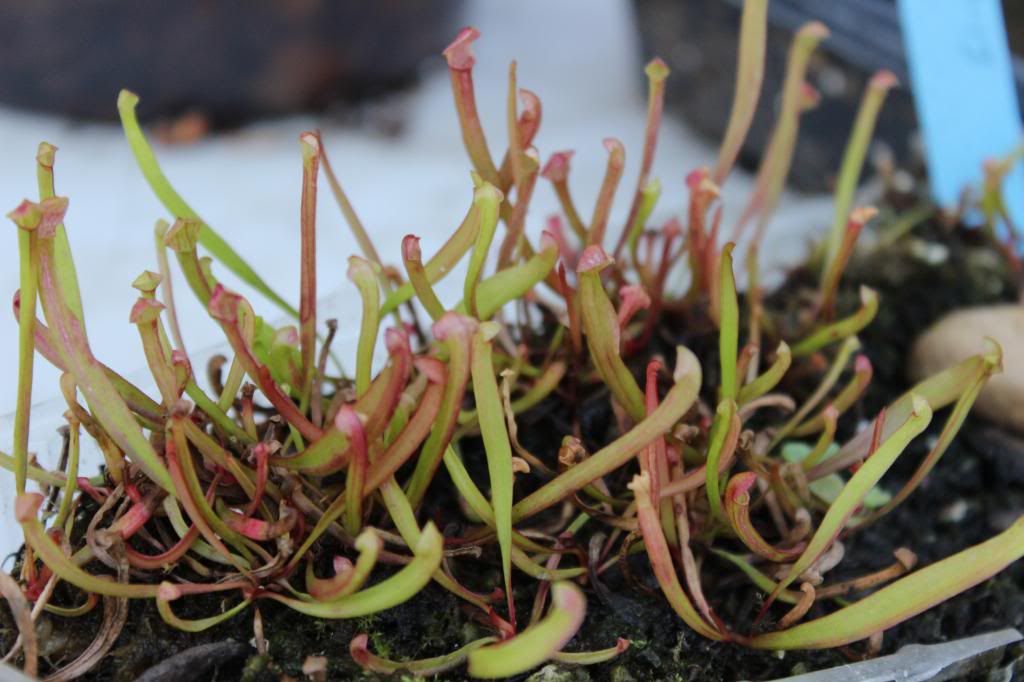
Some picture of OP seedlings
1 year olds
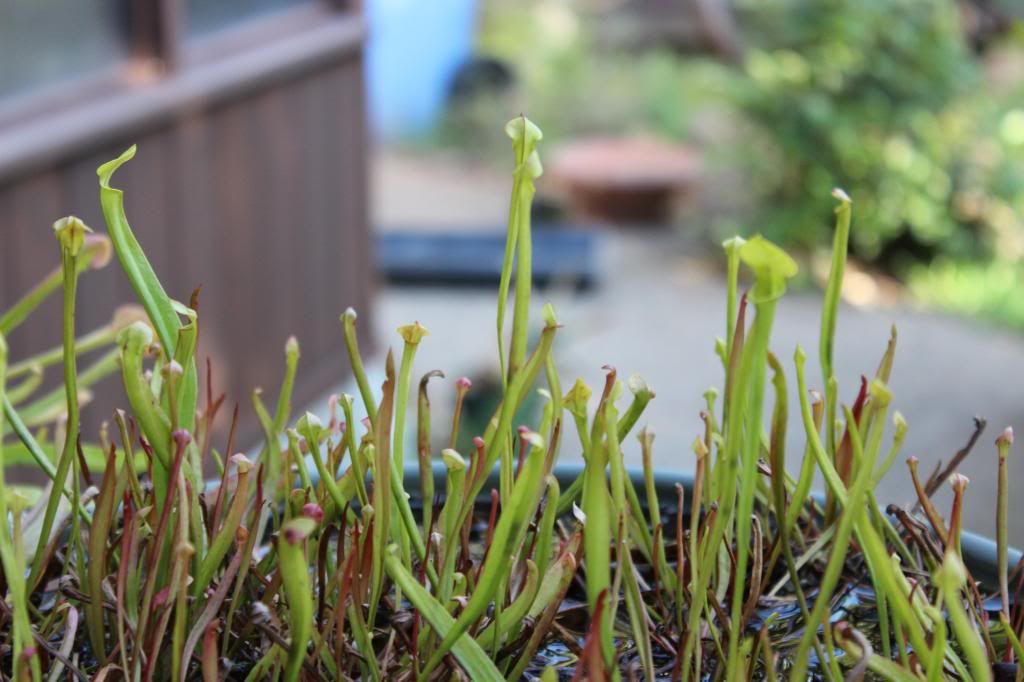
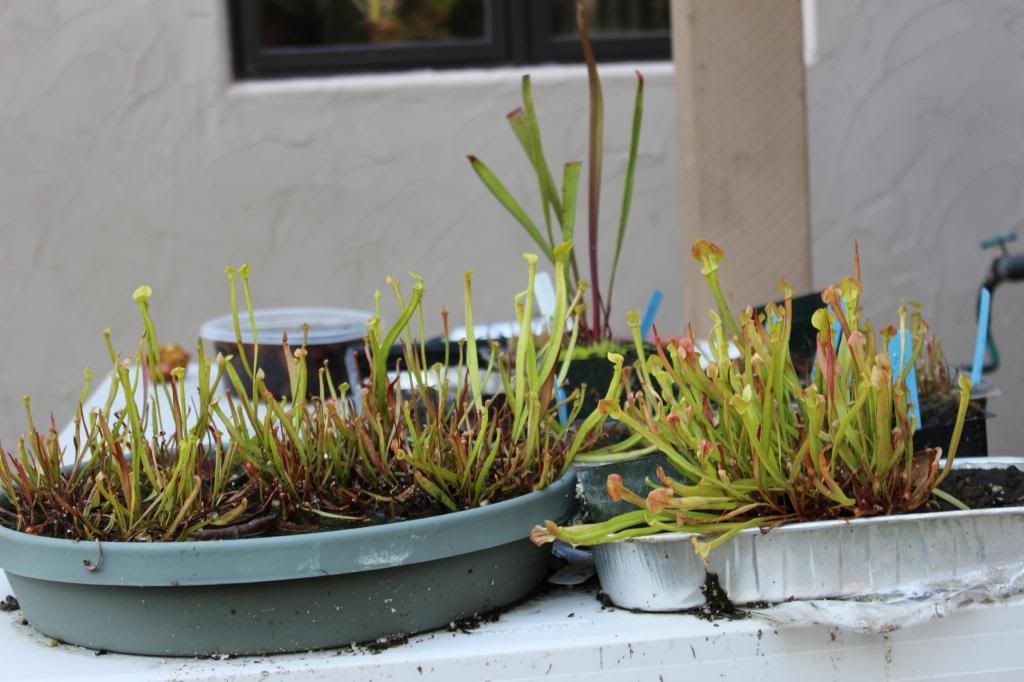
2 year olds

I hope you have a succesfull seed growing!!!!!!!
Thanks
David Green
Since I recently hosted an O.P. sarracenia seed giveaway, I would like to share my techniques in growing sarracenia from seed.
Supplies:
2 plastic trays (undrained)
1 Medium square pot
~3 handfulls of sphagnum moss ( LFS, cheaper variety, not New Zealand)
Your typical sarracenia mix
Chopped sphagnum moss (optional)
Tags (of course)
Seeds!
1) get all (or most) of your supplies together:

2) In one corner of the trays (2 stacked up on each other just in case one leaks) jam some LFS and then stick the pot next to it, then surround the pot with more LFS as shown here:

The purpose of this is to make watering much easier: just put the Can/hose in the pot and it gradually seeps to the rest of the tray.
It also makes sure that the seedling don't get squashed by water falling on top of them.
3) pack the rest of the tray very tightly with your usual sarracenia mix. note: You can put some chopped LFS on the top centimeter of the soil. I'm not sure if this helps or not, its your call. I do usually do that if I'm sowing darlingtonia seeds though.

4) ta-da!
 (imagine there aren't any seeds in the tray yet)
5) Sow Your seeds! The thickness of that you sow them depends on when next are you planning to re-pot them. since I usually repot them when they are about two years old, I can sow them more thickly. If you are not planning to repot them for a while, you should sow a smaller amount of seeds.

6)Write a tag with the date that you sowed it
7)Now you have to stratify the seeds. if your weather is in the 40F range for about two months, like in California, you can leave them outside to stratify. A cold garage would probably work too. You can also use a fridge (not freezer) to stratify them. I usually stratify them for about 2-3 months. (The trays should have water this whole time)
8) Once the seeds are done stratifying, you can move them into a greenhouse, under lights, a sunny windowsill or, once it gets warmer outside, outside. See more on this subject in the seed germination thread.
9)The seedlings should star sprouting in about 2-3 weeks.

10) the first two leaves that come up from the seeds are called cotyledons and every plant has them. Soon enough, you should start seeing the 'True leaves' (juvenile pitchers) coming up. Once about two of these come up from every plant, you can start fertilizing with 16-16-16 MAXSEA fertilizer with 3/4tbsp/1gallon once every month.

11)After ~2 years, you can repot them into individual pots or into deep square bog pots (meizzwang has pictures of his seedlings in them.)
Some picture of OP seedlings
1 year olds

2 year olds


I hope you have a succesfull seed growing!!!!!!!
Thanks
David Green


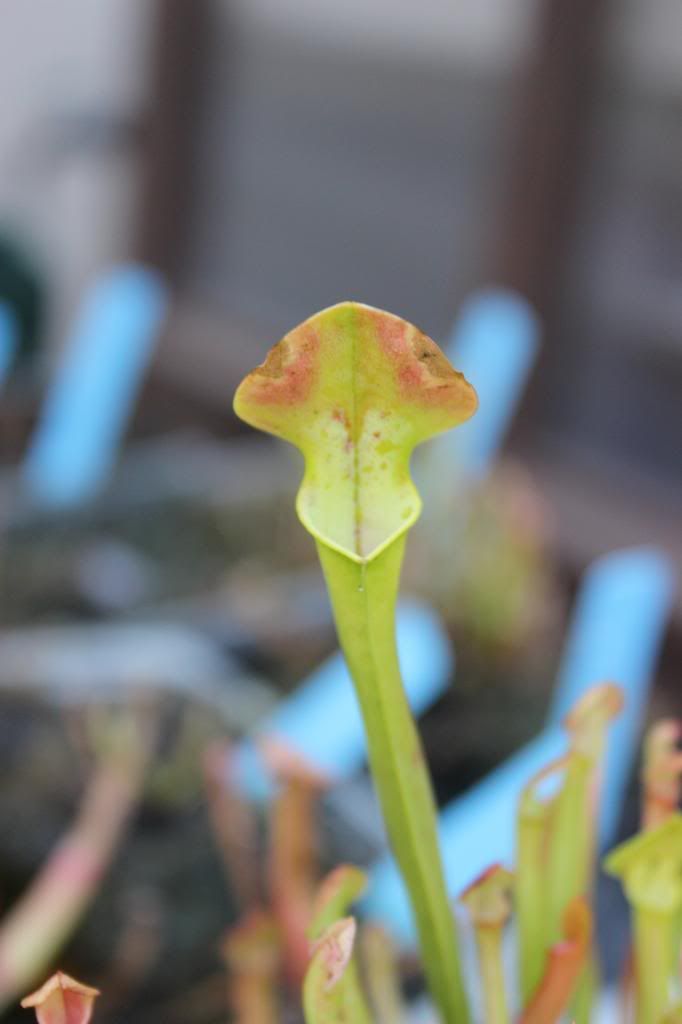
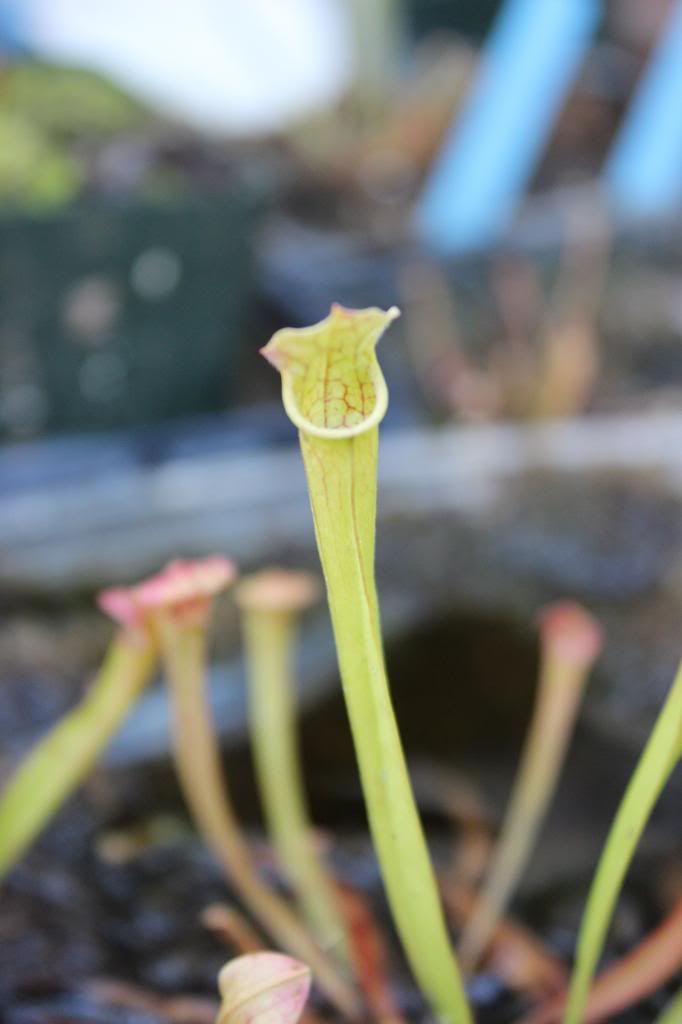
 Here are images of plant progress on 03/16/2023